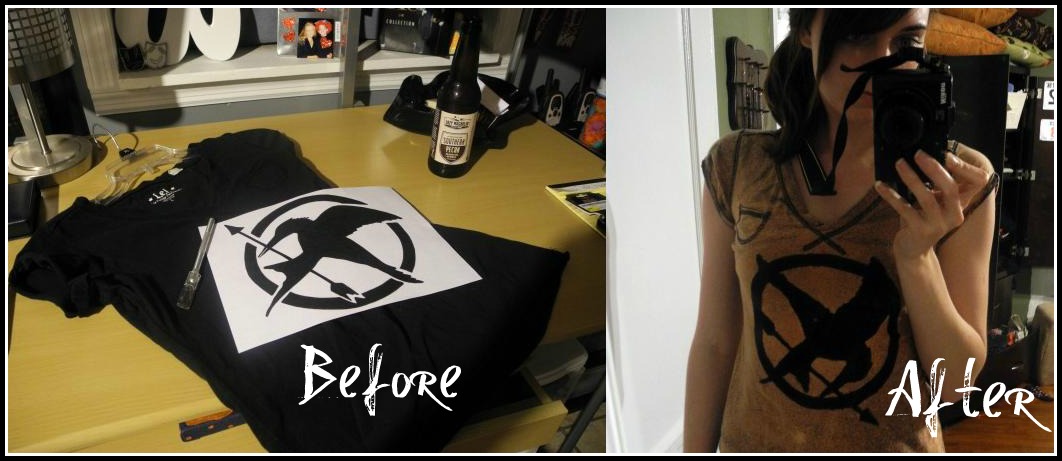
Even though I have a really awesome Hunger Games t-shirt (it says, "Keep Calm and May the Odds Be Ever in Your Favor"), gifted to me by my best friend Lindsey, I decided to make something inherently awesome to celebrate the opening of the movie version of Suzanne Collins' masterpiece.
Thanks to the wonder of Pinterest, I found a great Mockingjay template and a neat idea for putting a symbol onto a shirt. Basically, you cut out a symbol/letters on paper, place it on a shirt, and spray bleach around the image. This way, the fabric around the symbol becomes lighter. Peel away the symbol, and you're left with darker fabric underneath.
Here is a link to the Mockingjay template.
Here is a link to the DIY tutorial for a bleached shirt.

My work space is not the most organized, but I work better in chaos.

My crafting partner stayed at my feet during the process.

I started out with an old black t-shirt, the Mockingjay template (on plain paper, but I suggest using cardstock), an X-Acto knife, and a bottle of spray bleach. My bleach was completely undiluted, although some tutorials will tell you to use a 70%/30% solution. I'll be trying that eventually.

For my "trial run," I cut along the lines on the template exactly. The template was originally made for carving a pumpkin, which is why there are breaks along the circle. I thought it would look cool that way, so I cut the spaces out just as it's shown. Here is what the template looked like when I tested it on scrap fabric:

As you can see, because the template was in several piece, the bleach leaked under the edges. The arrow in the Mockingjay's mouth is almost invisible because it's so thin.
So, I decided to print another template and trace around the entire image. I cut on my mark, not the edge of the template.
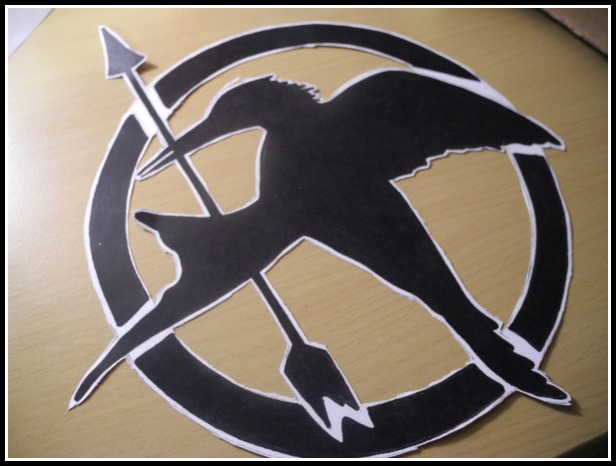
I also didn't cut out the breaks this time.
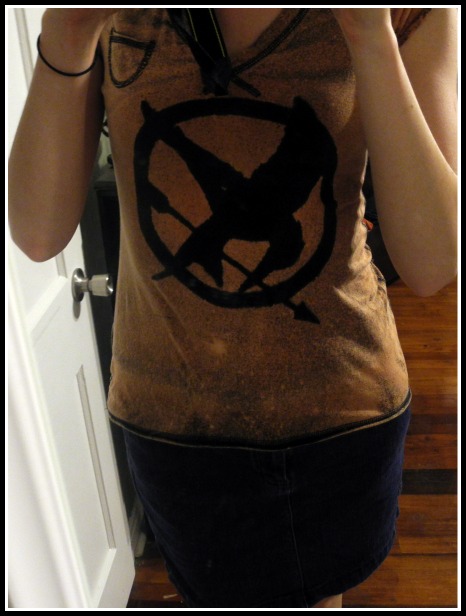
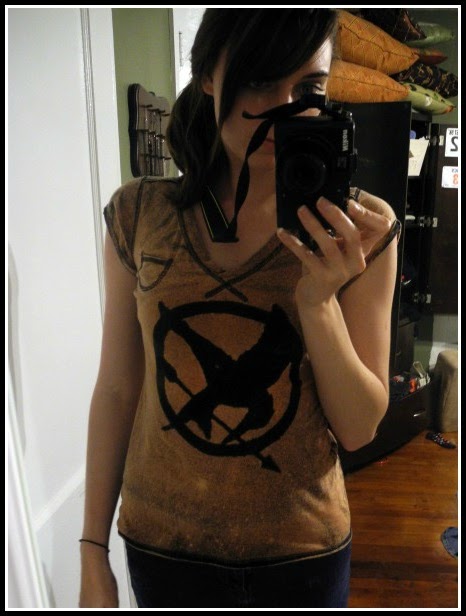
I didn't take pictures of the bleaching process, but I just took the shirt and template outside and laid it on my glass patio table. I placed some cardboard in between the layers of the shirt, and put the template in the center. Spray the bleach above the shirt and let the mist fall down onto the shirt. Because I used black, the color was radically altered. If you used a lighter color shirt, you may not have to bleach the entire front, but on black I pretty much didn't have a choice. After the front dried a little, I hung the shirt on a hanger on the clothes line and sprayed the back to match.
I read (after the fact) that you should dunk the shirt in a sink full of cold water soon after the color starts to turn. This will keep the bleach from eating through the material. I think I left mine on a little too long before rinsing it, because it feels a little thin. It was an old shirt, anyway, so maybe that's why it seems a little frail. I rinsed it in the sink, then thew it in the washer with detergent. Some of the tutorials I read said to run it through a wash cycle with no detergent... Mine turned out fine with soap. It's up to you, I guess. I ain't no expert... But I know I have a pretty cool shirt!
No comments:
Post a Comment